| Theme Parks A to L |
Click on a letter or number below to view a set of layouts:
(1) 1 (7) 2 (13) 3 (1) 4 (2) 6 (1) 7 (1) 8 (1) 9 (1) A (25) B (30) C (34) D (250) E (9) F (21) G (14) H (8) I (11) J (6) K (22) L (24) M (59) N (2) O (4) P (17) R (3) S (21) T (37) U (3) V (1) W (13) X (1) Z (2)
|
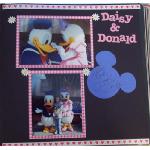
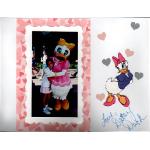
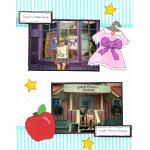
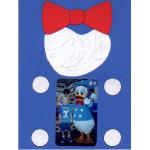
Daisy & Donald Duck
By: Laura D.
| 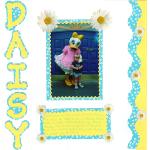
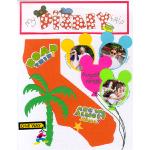
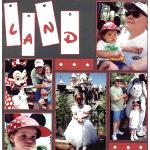
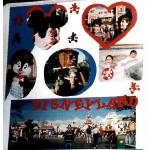
Daisy @ Disneyland
By: Angi W.
| 
Danielle and Barbie - Disney
By: Debbie M.
|
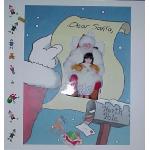
Dear Santa - Disney
By: Debbie M.
| 
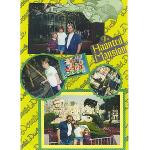
Discovery Zone
By: Unknown Author
| 
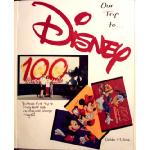
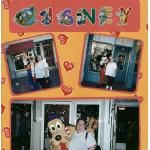
Disney
By: Unknown Author
|

Disney
By: Denise H.
| 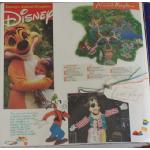
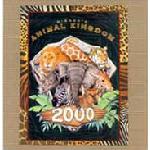
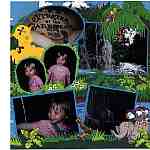
Disney - Animal Kingdom title page
By: Laura D.
| 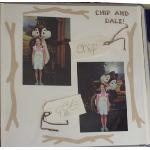
Disney - Chip & Dale
By: Laura D.
|
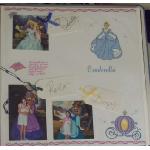
Disney - Cinderella & Friends
By: Laura D.
| 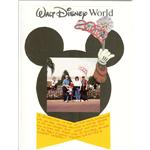
Disney - Disneyworld
By: Skatsevar, Euless, Tx
| 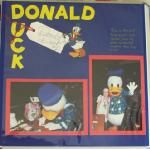
Disney - Donald Duck
By: Laura D.
|

Disney - Electric Lights Parade(L)
By: By: Mickaybersmom, Jacksonville FL
| 
Disney - Electric Lights Parade(R)
By: By: Mickaybersmom, Jacksonville FL
| 
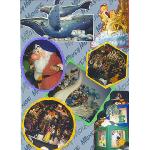
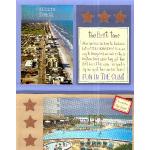
Disney - Feel the Magic
By: By: Mickaybersmom, Jacksonville FL
|
Disney - Goofin' Around
By: Laura D.
| 
Disney - Kilamanjaro Safaris
By: Laura D.
| 
Disney - Magic Kingdom title page
By: Laura D.
|
Disney - Mickey
By: Laura D.
| 
Disney - Minnie Mouse
By: Laura D.
| 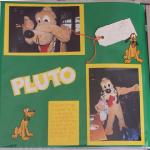
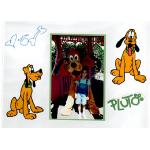
Disney - Pluto
By: Laura D.
|
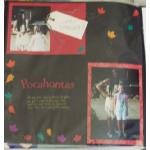
Disney - Pocahontas
By: Laura D.
| 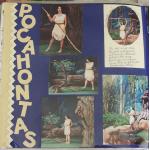
Disney - Pocahontas Show
By: Laura D.
| 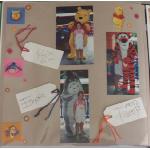
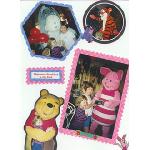
Disney - Pooh & Friends
By: Laura D.
|
Disney - Tarzan Rocks
By: Laura D.
| 
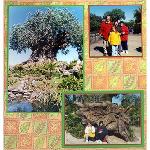
Disney - Tree of Life
By: Laura D.
| 
Disney 1
By: By Holly, White City, FL
|
Disney 2
By: By Holly, White City, FL
| 
Disney 3
By: By Holly, White City, FL
| 
Disney 4
By: By Holly, White City, FL
|
Disney 5
By: By Holly, White City, FL
| 
Disney 6
By: By Holly, White City, FL
| 
Disney Autographs
By: Karen T.
|
Disney Autographs 1(L)
By: By: Mickaybersmom, Jacksonville FL
| 
Disney Autographs 1(R)
By: By: Mickaybersmom, Jacksonville FL
| 
Disney Autographs 2(L)
By: By: Mickaybersmom, Jacksonville FL
|
Disney Autographs 2(R)
By: By: Mickaybersmom, Jacksonville FL
| 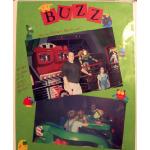
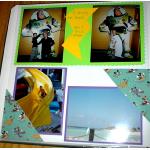
Disney Buzz Lightyear Ride
By: Laura D.
| 
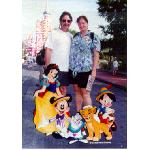
Disney Characters
By: Karen T.
|
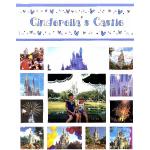
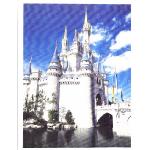
Disney Cinderella's Castle 1
By: Laura D.
| 
Disney Cinderella's Castle 2
By: Laura D.
| 
Disney Cinderella's Show
By: Laura D.
|
Disney Cover Page
By: Laura D.
| 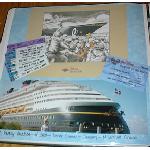
Disney Cruise
By: By Jennifer Crouch, Nashville TN
| 
Disney Cruise
By: By Jennifer Crouch, Nashville TN
|
Disney Cruise
By: By Jennifer Crouch, Nashville TN
| 
Disney Cruise
By: By Jennifer Crouch, Nashville TN
| 
Disney Dreams L
By: Camie, Kapolei, HI
|
Disney Dreams R
By: Camie, Kapolei, HI
| 
Disney Entrance
By: By: Mickaybersmom, Jacksonville FL
| 
Disney Epcot
By: Laura D.
|
Disney Epcot Universe of Energy
By: Laura D.
| 
Disney Epcot World Showcase 1
By: Laura D.
| 
Disney Epcot World Showcase 2
By: Laura D.
|
Disney Family Shot
By: Karen T.
| 
Disney Film
By: PamM, Fort Rucker, AL
| 
Disney Film
By: PamM, Fort Rucker, AL
|
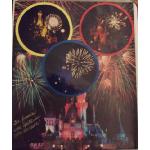
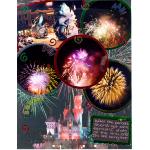
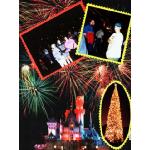
Disney Fireworks
By: Laura D.
| 
Disney Friends - L
By: By Tina, Antioch, CA
| 
Disney Friends - R
By: By Tina, Antioch, CA
|
Disney Friends L
By: Camie, Kapolei, HI
| 
Disney Friends R
By: Camie, Kapolei, HI
| 
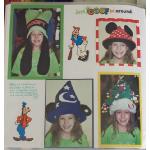
Disney Hats
By: By Muriel, Roseland, Florida
|

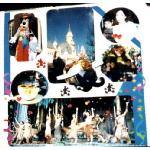
Disney It's a Small World 1
By: Laura D.
| 
Disney It's a Small World 2
By: Laura D.
| 
Disney It's a Small World 3
By: Laura D.
|

Disney Land Paris
By: SeaBee Wife in CA
| 
Disney Lunch with Pooh
By: Laura D.
| 
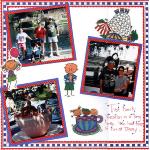
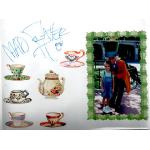
Disney Mad Tea Party
By: Laura D.
|
Disney Magic Kingdom
By: Lucia
| 
Disney Magic Kingdom
By: Lucia
| 
Disney Magic Kingdom
By: Lucia
|
Disney Map L
By: Camie, Kapolei, HI
| 
Disney Map R
By: Camie, Kapolei, HI
| 
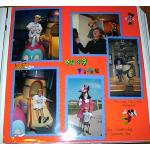
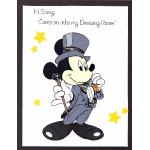
Disney Meeting Mickey
By: Laura D.
|
Disney Mickey's Toontown
By: Laura D.
| 
Disney Minnie's House
By: Laura D.
| 
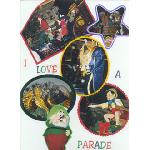
Disney Parade
By: By brandonsmom,Dix Hills,NY
|
Disney Parade 1
By: Laura D.
| 
Disney Parade 2
By: Laura D.
| 
Disney Paris (2)
By: By Stacy - Germany (until 2002)
|
Disney Paris (3)
By: By Stacy - Germany (until 2002)
| 
Disney Paris (4)
By: By Stacy - Germany (until 2002)
| 
Disney Pirates of the Caribbean
By: Laura D.
|
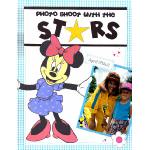
Disney Stars (L)
By: Laura D.
| 
Disney Stars (R)
By: Laura D.
| 
Disney Tigger
By: jennifer h.
|

Disney Trip
By: Renn Giblin, Sunnyvale, CA
| 
Disney Trip
By: Renn Giblin, Sunnyvale, CA
| 
Disney trip
By: Renn Giblin, Sunnyvale, CA
|
Disney Trip
By: Stella A B
| 
Disney trip memorabelia
By: Denise C.
| 
Disney trip memorabelia L
By: Denise C.
|
Disney Vacation L
By: Camie, Kapolei, HI
| 
Disney Vacation R
By: Camie, Kapolei, HI
| 
Disney World
By: Sandra K.
|
Disney World
By: By Hilary Cornell, Loxahatchee, Fl
| 
Disney World - Eeyore
By: Kristin, Perrysburg, OH
| 
Disney World - Pooh
By: Kristin, Perrysburg, OH
|
Disney World - Tigger - left
By: Kristin, Perrysburg, OH
| 
Disney World - Tigger - right
By: Kristin, Perrysburg, OH
| 
Disney World Lego Store
By: Sandra K.
|
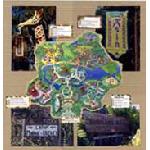
Disney World Map-Left
By: Diana H
| 
Disney World Map-Right
By: Diana H
| 
Disney World pg 2
By: By Hilary Cornell, Loxahatchee, Fl
|
Disney World Title
By: Heather, Cuyahoga Falls, OH
| 
Disney World Title Page
By: By Holly in NY
| 
Disney's Alice in Wonderland
By: Laura D.
|
Disney's Animal Kingdom (L)
By: By Lujan, Buenos Aires, Argentina
| 
Disney's Animal Kingdom (R)
By: By Lujan, Buenos Aires, Argentina
| 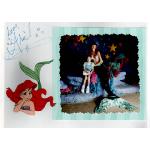
Disney's Ariel, the Little Mermaid
By: Laura D.
|
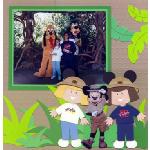
Disney's Camp Mickey & Minnie
By: By Lujan, Buenos Aires, Argentina
| 
Disney's Camp Mickey & Minnie (R)
By: By Lujan, Buenos Aires, Argentina
| 
Disney's Cinderella
By: Laura D.
|
Disney's Clopin (Hunchback movie)
By: Laura D.
| 
Disney's Cruella de Ville
By: Laura D.
| 
Disney's Daisy Duck
By: Laura D.
|

Disney's Eeyore
By: Laura D.
| 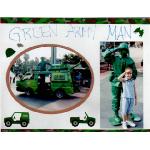
Disney's Green Army Man, Toy Story
By: Laura D.
| 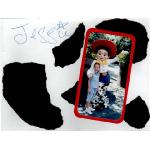
Disney's Jessie, Toy Story
By: Laura D.
|

Disney's Liberty Tree Tavern
By: Paula W.
| 
Disney's Mad Hatter
By: Laura D.
| 
Disney's Magic Kingdom
By: Laura D.
|

Disney's Magic Kingdom 2
By: Laura D.
| 
Disney's Magic Kingdom Main Street
By: Laura D.
| 
Disney's Magic Kingdom Saying Goodbye
By: Laura D.
|
Disney's Mary Poppins & Bert
By: Laura D.
| 
Disney's MuShu
By: Laura D.
| 
Disney's Pirates of the Caribbean
By: Denise C.
|
Disney's Pluto
By: Laura D.
| 
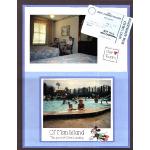
Disney's Port Orleans Pool (L)
By: Tracey S
| 
Disney's Port Orleans Pool (R)
By: Tracey S
|
Disney's Prince John
By: Laura D.
| 
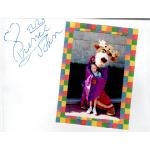
Disney's Queen of Hearts
By: Laura D.
| 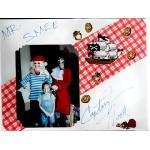
Disney's Smee & Mr. Hook
By: Laura D.
|
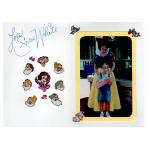
Disney's Snow White
By: Laura D.
| 
Disney's The Genie
By: Laura D.
| 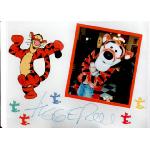
Disney's Tigger
By: Laura D.
|
Disney's Tree of Life (L)
By: By Lujan, Buenos Aires, Argentina
| 
Disney's Tree of Life (R)
By: By Lujan, Buenos Aires, Argentina
| 
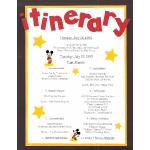
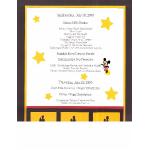
Disney-Itinerary
By: By Dee in Edmonton
|
Disney-MGM Beauty & the Beast Live
By: Laura D.
| 
Disney-MGM Parade (L)
By: Laura D.
| 
Disney-MGM Parade (R)
By: Laura D.
|

Disney-MGM Tower of Terror
By: Laura D.
| 
Disney/Around the park page 2
By: Donna H
| 
Disney/Around the park page1
By: Donna H
|
Disney/Chip & Dale
By: Donna H
| 
Disney/Entrance
By: Donna H
| 
Disney/Entrance Page 1
By: Donna H
|
Disney/Hanging at the Mouses House/Pg 1
By: Donna H
| 
Disney/Hanging at the Mouses House/Pg 2
By: Donna H
| 
Disney/Leaving the park
By: Donna H
|
Disney/Leaving the park/Pg 2
By: Donna H
| 
Disney/Lights camera action
By: Donna H
| 
Disney/Main Street Page 1
By: Donna H
|
Disney/Main Street Page 2
By: Donna H
| 
Disney/MGM
By: Karen T.
| 
Disney/Mickey
By: Donna H
|
Disney/Mickey and friends
By: Donna H
| 
Disney/Mickey Page 1
By: Donna H
| 
Disney/Mickey Page 2
By: Donna H
|
Disney/Orlando 2004 Front Cover
By: By Cara Dennis, Portsmouth, England
| 
Disney/Our Trip
By: Donna H
| 
Disney/Parade
By: Donna H
|
Disney/Pinocchio
By: Donna H
| 
Disney/Quilt
By: Donna H
| 
Disney/Remembering
By: Donna H
|
Disney/Snow White
By: Donna H
| 
Disney/Splash Mountain
By: Donna H
| 
Disney/Splash Mountain Page 2
By: Donna H
|

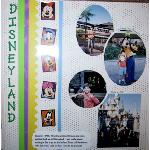
Disneyland
By: dMarie
| 
Disneyland
By: PamM, Fort Rucker, AL
| 
Disneyland
By: PamM, Fort Rucker, AL
|

Disneyland (L)
By: Cyndi D
| 
Disneyland (L)
By: Unknown Author
| 
Disneyland (L)
By: Unknown Author
|
Disneyland (L)
By: Pamela Entrikin, Waukesha, WI
| 
Disneyland (R)
By: Cyndi D
| 
Disneyland (R)
By: Unknown Author
|

Disneyland (R)
By: Unknown Author
| 
Disneyland (R)
By: Pamela Entrikin, Waukesha, WI
| 
DISNEYLAND - 2000
By: NormaG, San Diego, CA.
|
Disneyland - L
By: By Tina, Antioch, CA
| 
Disneyland - R
By: By Tina, Antioch, CA
| 
Disneyland Autopia
By: Renn Giblin, Sunnyvale, CA
|

Disneyland Balloons
By: Unknown Author
| 
Disneyland Fireworks
By: Renn Giblin, Sunnyvale, CA
| 
Disneyland Fun (L)
By: By Monica Iacovazzi, San Jose, CA
|
Disneyland Fun (R)
By: By Monica Iacovazzi, San Jose, CA
| 
Disneyland Here We Come
By: Alaine T
| 
Disneyland Paris 5
By: By Stacy - Germany (until 2002)
|
Disneyland Title Page
By: Tami V.
| 
Disneyland(L)
By: NormaG, San Diego, CA.
| 
Disneyland, Tom- Island (L)
By: meg, Kapolie, Hawaii
|
Disneyland, Tom- Island (R)
By: meg, Kapolie, Hawaii
| 
Disneyland1
By: Layout By Vicki
| 
Disneyland10
By: Layout By Vicki
|
Disneyland12
By: Layout By Vicki
| 
Disneyland2
By: Layout By Vicki
| 
Disneyland3
By: Layout By Vicki
|
Disneyland4
By: Layout By Vicki
| 
Disneyland5
By: Layout By Vicki
| 
Disneyland6
By: Layout By Vicki
|
Disneyland7
By: Layout By Vicki
| 
Disneyland8
By: Layout By Vicki
| 
Disneyland9
By: Layout By Vicki
|

Disneyworld
By: Unknown Author
| 
DisneyWorld 1 - Pam T.
By: Pam T.
| 
DisneyWorld 10 - Pam T.
By: Pam T.
|
DisneyWorld 11 - Pam T.
By: Pam T.
| 
DisneyWorld 12 - Pam T.
By: Pam T.
| 
DisneyWorld 13 - Pam T.
By: Pam T.
|
DisneyWorld 14 - Pam T.
By: Pam T.
| 
DisneyWorld 15 - Pam T.
By: Pam T.
| 
DisneyWorld 16 - Pam T.
By: Pam T.
|
DisneyWorld 17 - Pam T.
By: Pam T.
| 
DisneyWorld 18 - Pam T.
By: Pam T.
| 
DisneyWorld 19 - Pam T.
By: Pam T.
|
DisneyWorld 2 - Pam T.
By: Pam T.
| 
DisneyWorld 20 - Pam T.
By: Pam T.
| 
DisneyWorld 21 - Pam T.
By: Pam T.
|
DisneyWorld 22 - Pam T.
By: Pam T.
| 
DisneyWorld 23 - Pam T.
By: Pam T.
| 
DisneyWorld 24 - Pam T.
By: Pam T.
|
DisneyWorld 25 - Pam T.
By: Pam T.
| 
DisneyWorld 26 - Pam T.
By: Pam T.
| 
DisneyWorld 27 - Pam T.
By: Pam T.
|
DisneyWorld 28 - Pam T.
By: Pam T.
| 
DisneyWorld 29 - Pam T.
By: Pam T.
| 
DisneyWorld 3 - Pam T.
By: Pam T.
|
DisneyWorld 30 - Pam T.
By: Pam T.
| 
DisneyWorld 31 - Pam T.
By: Pam T.
| 
DisneyWorld 32 - Pam T.
By: Pam T.
|
DisneyWorld 33 - Pam T.
By: Pam T.
| 
DisneyWorld 34 - Pam T.
By: Pam T.
| 
DisneyWorld 35 - Pam T.
By: Pam T.
|
DisneyWorld 4 - Pam T.
By: Pam T.
| 
DisneyWorld 5 - Pam T.
By: Pam T.
| 
DisneyWorld 6 - Pam T.
By: Pam T.
|
DisneyWorld 7 - Pam T.
By: Pam T.
| 
DisneyWorld 8 - Pam T.
By: Pam T.
| 
DisneyWorld 9 - Pam T.
By: Pam T.
|
Disneyworld at night
By: Becky Diment, OH
| 
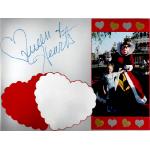
Donald Duck's Autograph
By: Lisa, Topeka, KS
| 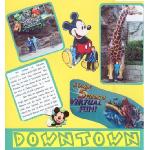
Downtown Disney
By: by Carol B. Smithfield, RI
|
Downtown Disney
By: Laura D.
| 
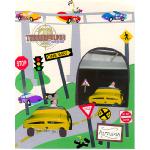
Driving to Disneyland! (L)
By: Angi W.
| 
Driving to Disneyland! (R)
By: Angi W.
|
Duck Tales - Disney
By: Debbie M.
|
(1) 1 (7) 2 (13) 3 (1) 4 (2) 6 (1) 7 (1) 8 (1) 9 (1) A (25) B (30) C (34) D (250) E (9) F (21) G (14) H (8) I (11) J (6) K (22) L (24) M (59) N (2) O (4) P (17) R (3) S (21) T (37) U (3) V (1) W (13) X (1) Z (2)
|