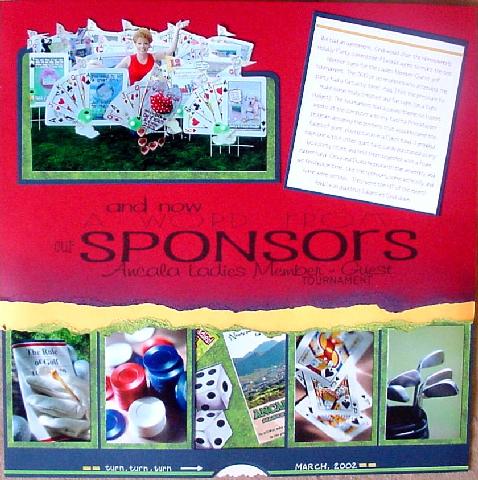
I got the idea for the "wheel" behind the open window by watching the scrapbook program on DIY. Wanting to include some photos of the 22 tee sponsor signs I made for our Ladies Golf Tournament gave me the perfect opportunity to try out the wheel.
I cut the large circle from cardstock using my decorative scissors giving the edge a deckle finish, divided it into sections, and placed photo of one of the signs in each section. After goofing around with it, I finally determined the size and shape of the "window" opening that the sectioned photos would display in. I cut a small crescent shape out of the bottom of the page and positioned the wheel so the deckled edge would be easily reached to turn the wheel, exposing the photos as you turn the wheel. I mounted this onto a piece of cardstock using a brass paper brad so the wheel would turn smoothly.
The rest was a breeze. Tore some cardstock, chalked the edges, and layered it on top to hide the brass brad. I then mounted some journaling and a photo of myself surrounded by all the sponsor signs I had made. It took a bit of time to figure out how to assemble the darn thing, but It was the perfect solution for trying to get a bunch of photos onto the layout without making it a cluttered up mess. Now my mind is racing! There's a million things I can do with this wheel technique . . . what's next? |

